Practically every photographer will have tried their hand at High Dynamic Range photography. If you have found your way here, I will not need to explain what HDR photography is, but maybe just to remind ourselves:
The main idea of High Dynamic Range photography is to apply the best exposure for different areas of the same image to not loose any detail in over- or underexposed parts of that image.
In situations where we face a wide range of colour/light (backlight subjects, interiors with windows, strong light and shadow contrasts, etc.) our cameras struggle to record the full tonal range in a single photo. Shooting RAW means there will be some more detail in the highlights and shadows, but even that will have its limitations.
Graduated ND filters will of course help to essentially blend two areas of different brightness, effectively extending the dynamic range while maintaining local contrast. If we can use a ND Grad filter thanks to a more or less linear separation between lighter and darker areas of the scene (for example in landscape photography), we should absolutely do so. But where we have more complex “lighting geometries” to deal with, we need an alternative approach.
Simply speaking there are two approaches
- Using multiple exposures (a “bracket”) of the same scene and merge correctly exposed sections of the respective photos into one.
- Using just one exposure and bring out as much detail as possible in the shadow and highlight sections of the image (only really works with RAW images).
Like many of us, I take a series (bracket) of photos with varying exposure and then use a selection of software tools to merge these into a “high dynamic range image”. I use Photomatix Pro but have also used the HDR merge function built into Photoshop.
Here an example of a challenging (from a luminosity perspective) scene for which I took a series of 7 images and merged these using Photomatix Pro. I wanted a gritty feel to the image so simply chose one of the presets that I liked and tweaked the different settings via the sliders. Not really understanding what each really do, but there is absolutely nothing wrong with the trial-and-error approach.
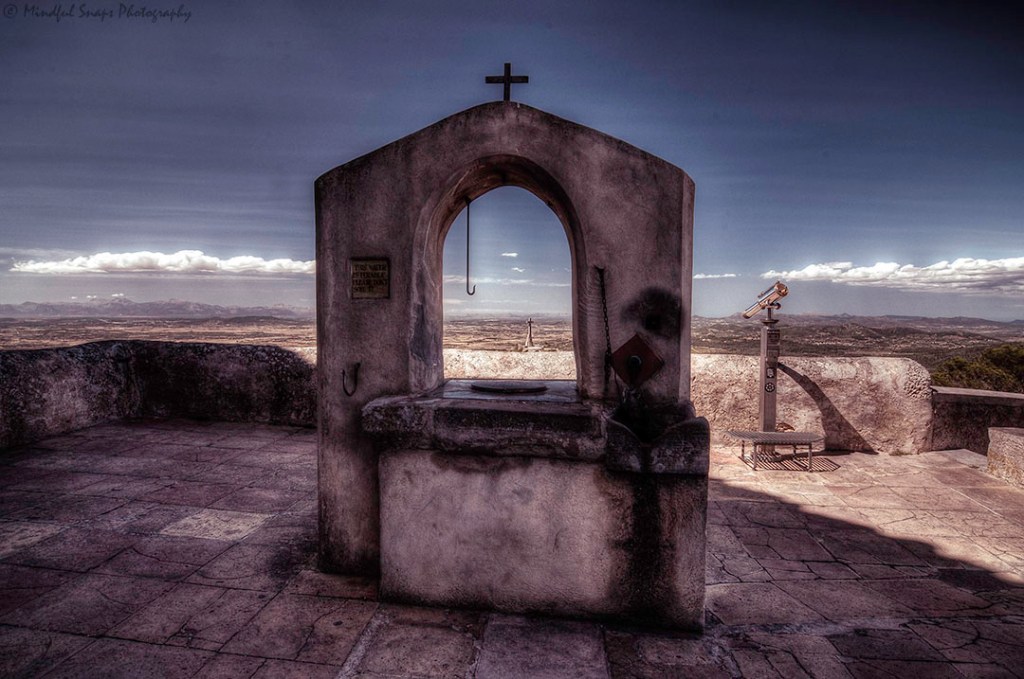
In this case I was ok with the halo effects around the arch of the well (as I thought it suited the subject of the image), but I was not fond of the noise and especially the number of spots that were not at all visible in any of the source images. So I thought maybe changing the settings in Photomatix would be enough. My second attempt had a different feel to it, still the same halo effects but the sky looked a lot more pleasing (a bit less noise and the spots, while still there, less annoying).

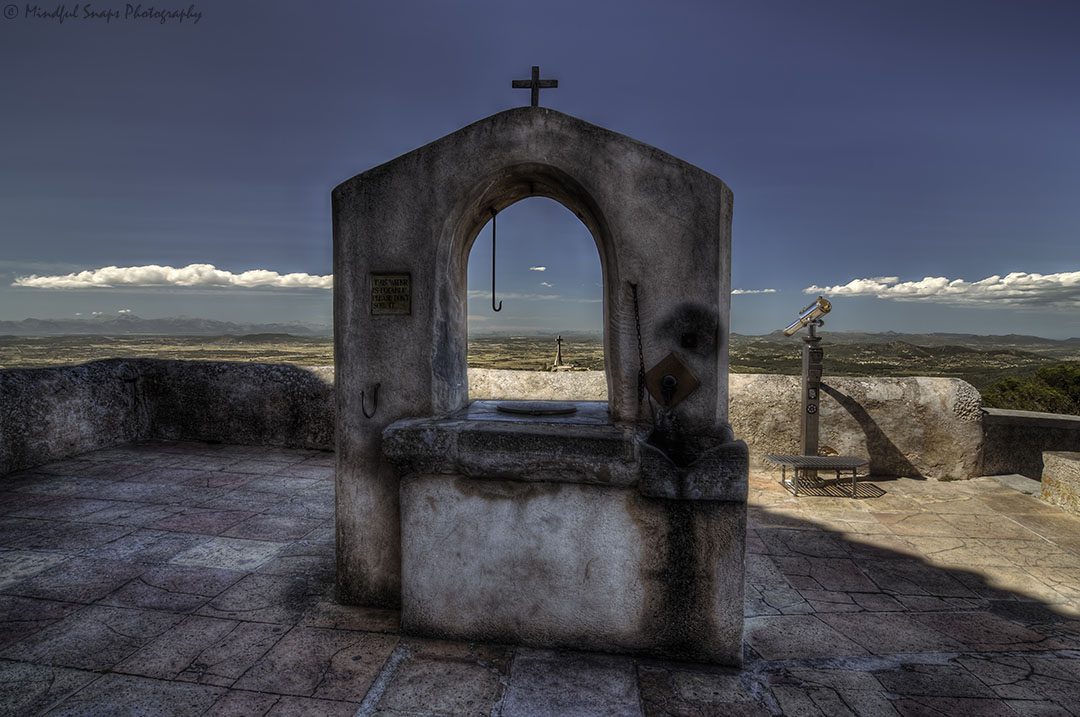
It wasn’t until quite a bit later that I looked into HDR with a bit more depth and understanding. What are the different processes Photomatix uses (Exposure Fusion versus HDR Tone Mapping), how do the different Tone Mapping algorithms work and what are the pros and cons of each. With that (and just a bit more post-processing effort involving a few additional tools) I managed to get a result that I consider a significant step up from my initial attempt:

In the process of this HDR deep-dive of mine I have now created a pragmatic workflow built on the tools that I use (Lightroom, Photomatix Pro, Photoshop, Topazlabs plugins) to be able to create pleasing HDR images a lot more effectively and efficiently.
Follow me to be alerted to future blog posts – and keep your eyes on my Courses and Tuition section as I am planning to share all my learnings with you through group courses as well as one-to-one sessions!
