When you start thinking about High Dynamic Range photography you will quickly encounter arguments where everybody has their own personal opinion on what methodology is the best one to use to create an HDR image and/or extend the dynamic range of an image. In principle these arguments are about the question whether you should use additional HDR software at all or rather take more manual control over how you blend images together. While there are valid pros and cons for each, I came to realize a number of things (and this is simply my own opinion):
- If you want to have a pragmatic workflow rather than become a Photoshop guru, you are better off with HDR software to automate some of the more complicated and time consuming steps – and instead focus your learning on understanding those tools better in order to get the results you desire.
- Exposure Fusion in Photomatix essentially automates the process of blending different sections of your image series into one. So if you are keen on getting the most realistic looking images this still is one of the best tools to automate your workflow.
- Despite all this: there are some things you simply cannot do using HDR tools like Photomatix – for example applying local adjustments. Photomatix allows quite a bit of selective treatment for highlights versus shadows, but using “Luminosity Masks” in Photoshop will give you a lot more control.
Having looked into how to create Luminosity Masks, I have to admit that this is not as complicated as I initially feared and that I really find them quite useful to bring (individual) images to life. Esp those that are underexposed or where you have a broad luminosity range (ie from very dark shadows to bright highlights). So lets jump into a really brief introduction into how to create luminosity masks in Photoshop.
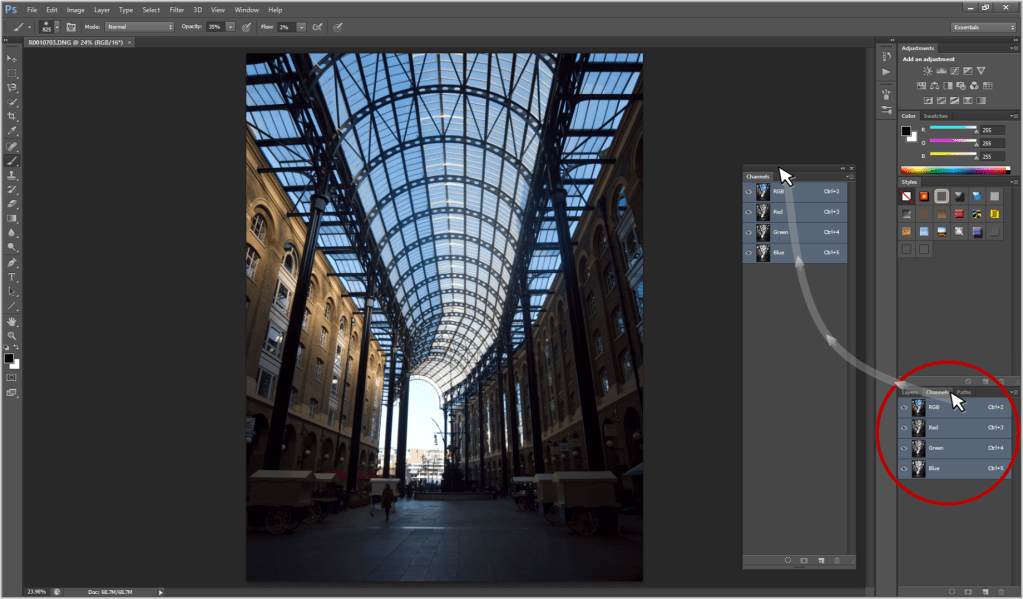
In Photoshop we will be using the “Channels” panel, so it is best to pull that out into the foreground. (Click on the screenshots to enlarge)

Step 1: Create masks for the highlight areas
- Crtl-Click on the thumbnail of the RGB channel: this will select the highlights in the image (see the marching ants). To save this selection as a mask, click on the mask symbol below – this will create a new channel with a black and white image of that selection (white the highlight areas, black the dark/shadow areas – as a mask: adjustments will apply to white areas while black will block everything out).
- To create further masks, more selective to ever brighter highlights, we need to intersect the selection we just created with itself. With the same selection still being active, Shift-Alt-Ctrl-Click on the thumbnail of the highlights channel we just created. You will see the selection (marching ants) narrow down to the brightest sections. Again save as a new channel by clicking on the mask symbol below.
- Repeat as appropriate – ideally naming these channels e.g. “Highlights 1”, “Highlights 2”, etc.
Step 2: Create masks for the shadow areas
- Shadows is the opposite of Highlights so we select the first Highlights channel thumbnail we created (or the RGB channel thumbnail) and invert that: press Shift-Ctrl-I (or via the pull down menu: Selection –> Inverse). We again save the resulting selection as a new channel by clicking on the mask symbol below.
- As for the highlights, create further Shadow channels/masks by intersecting the selections one after the other. Shift-Alt-Ctrl-Click on the respective selection/thumbnail and save by clicking the mask symbol. Repeat as appropriate – again name e.g. “Shadows 1”, “Shadows 2”, etc.
Step 3: Create masks for the mid-tone areas
- The mid-tones are what we are left with after subtracting highlights and shadows. To select the whole image press Ctrl-A (or via the pull-down menu: Selection –> All). To subtract from a selection we need to Alt-Ctrl-Click, so we Alt-Ctrl-Click the thumbnail “Highlights 1” we just created and then Alt-Ctrl-Click the thumbnail “Shadows 1”. Again we save the resulting selection as a new channel by clicking the mask symbol below and name it accordingly
- To create further mid-tones channels/masks we repeat step 1 but subtract the next level of highlights and shadows: Select all – Highlights 2 – Shadows 2.

Using these new channels as masks for a new adjustment layer is very simple: Select the channel/mask you want to use by Ctrl-Clicking on the respective channel thumbnail (you will see the selection become active, i.e. the “marching ants”) and then select the type of adjustment layer you want to add. The selection will automatically be applied as the mask for the new layer.
If you have already added an adjustment layer and want to replace the current mask with one of the newly created ones: Select the layer, select the mask of that layer. Then via the pull-down menu “Image” go to “Apply Image…”. In the dialogue window that then appears set Blending to “normal”, Layer to “merged” and then select the mask under Channel. Here it becomes clear that you should name your channels when creating them!
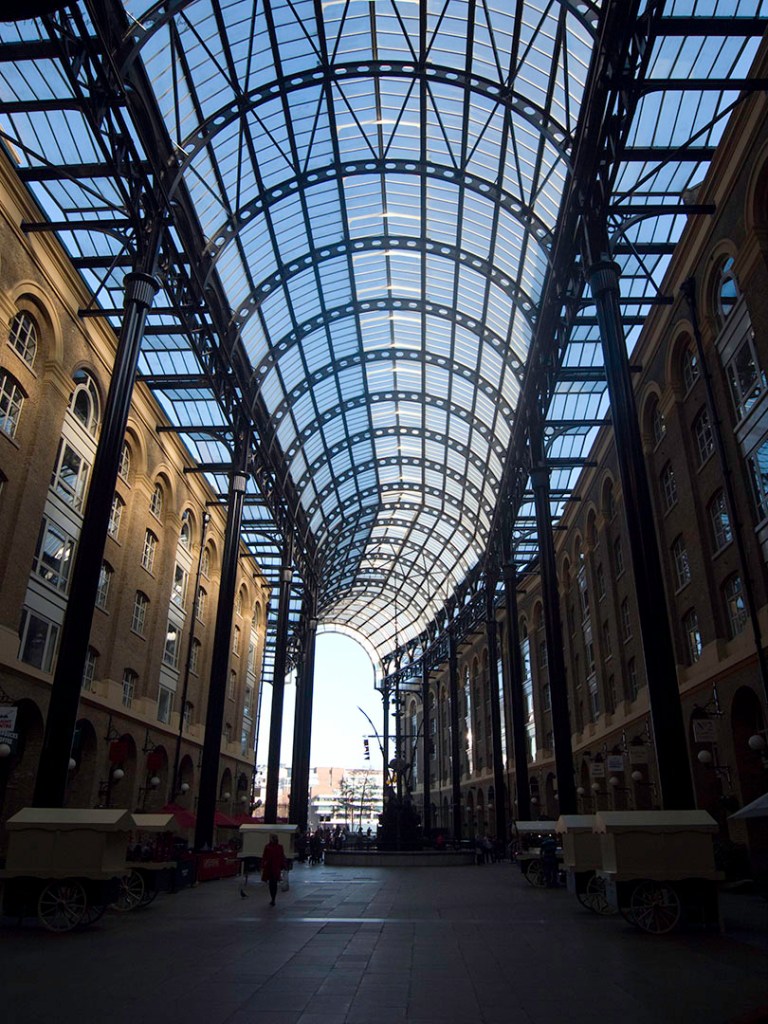
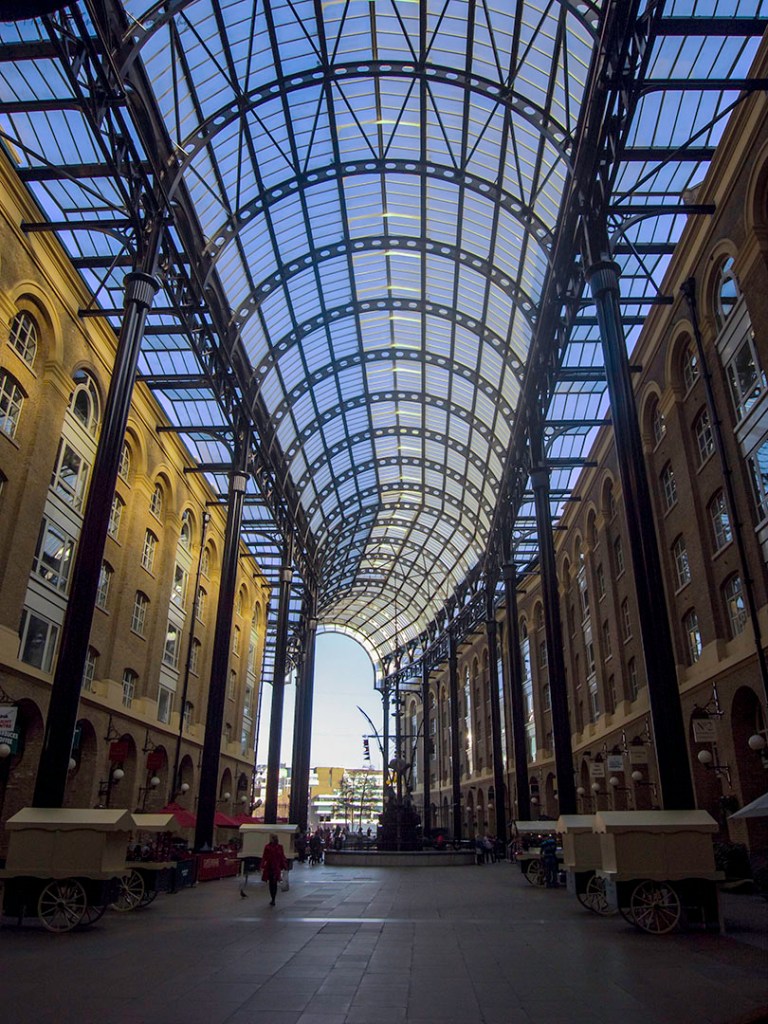
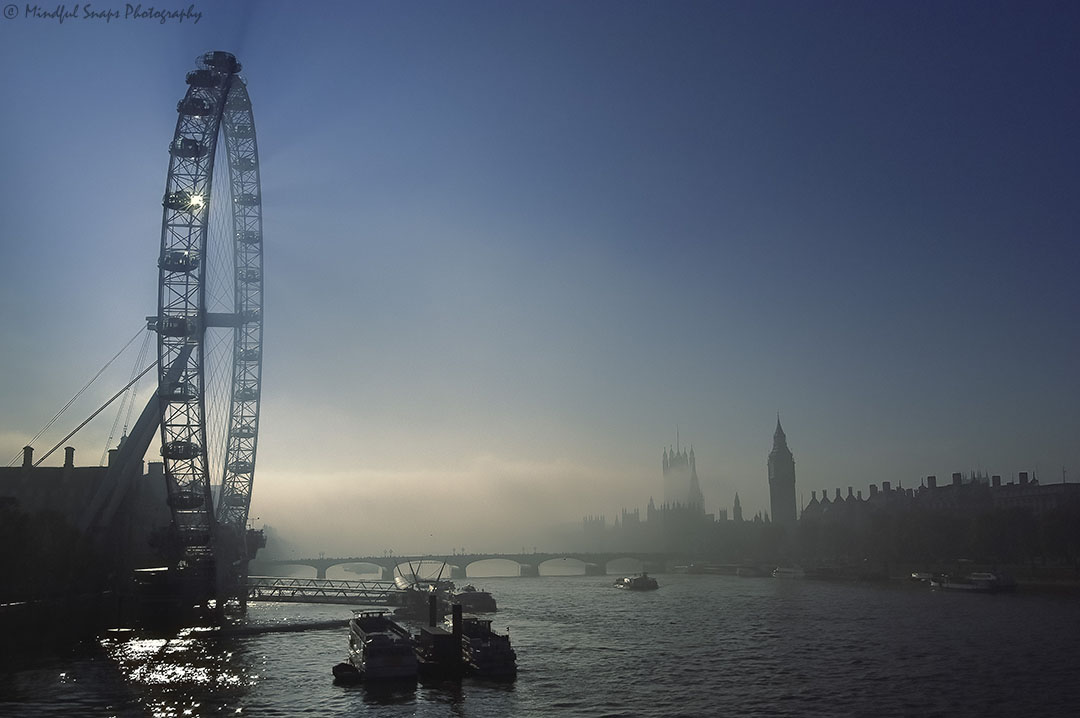
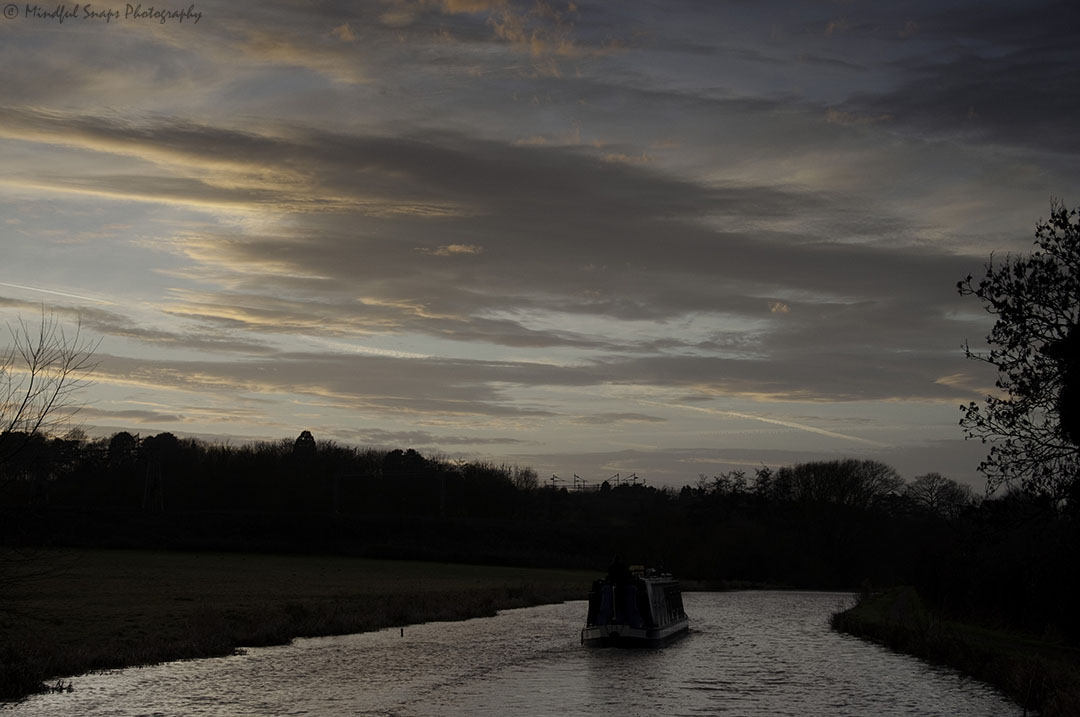
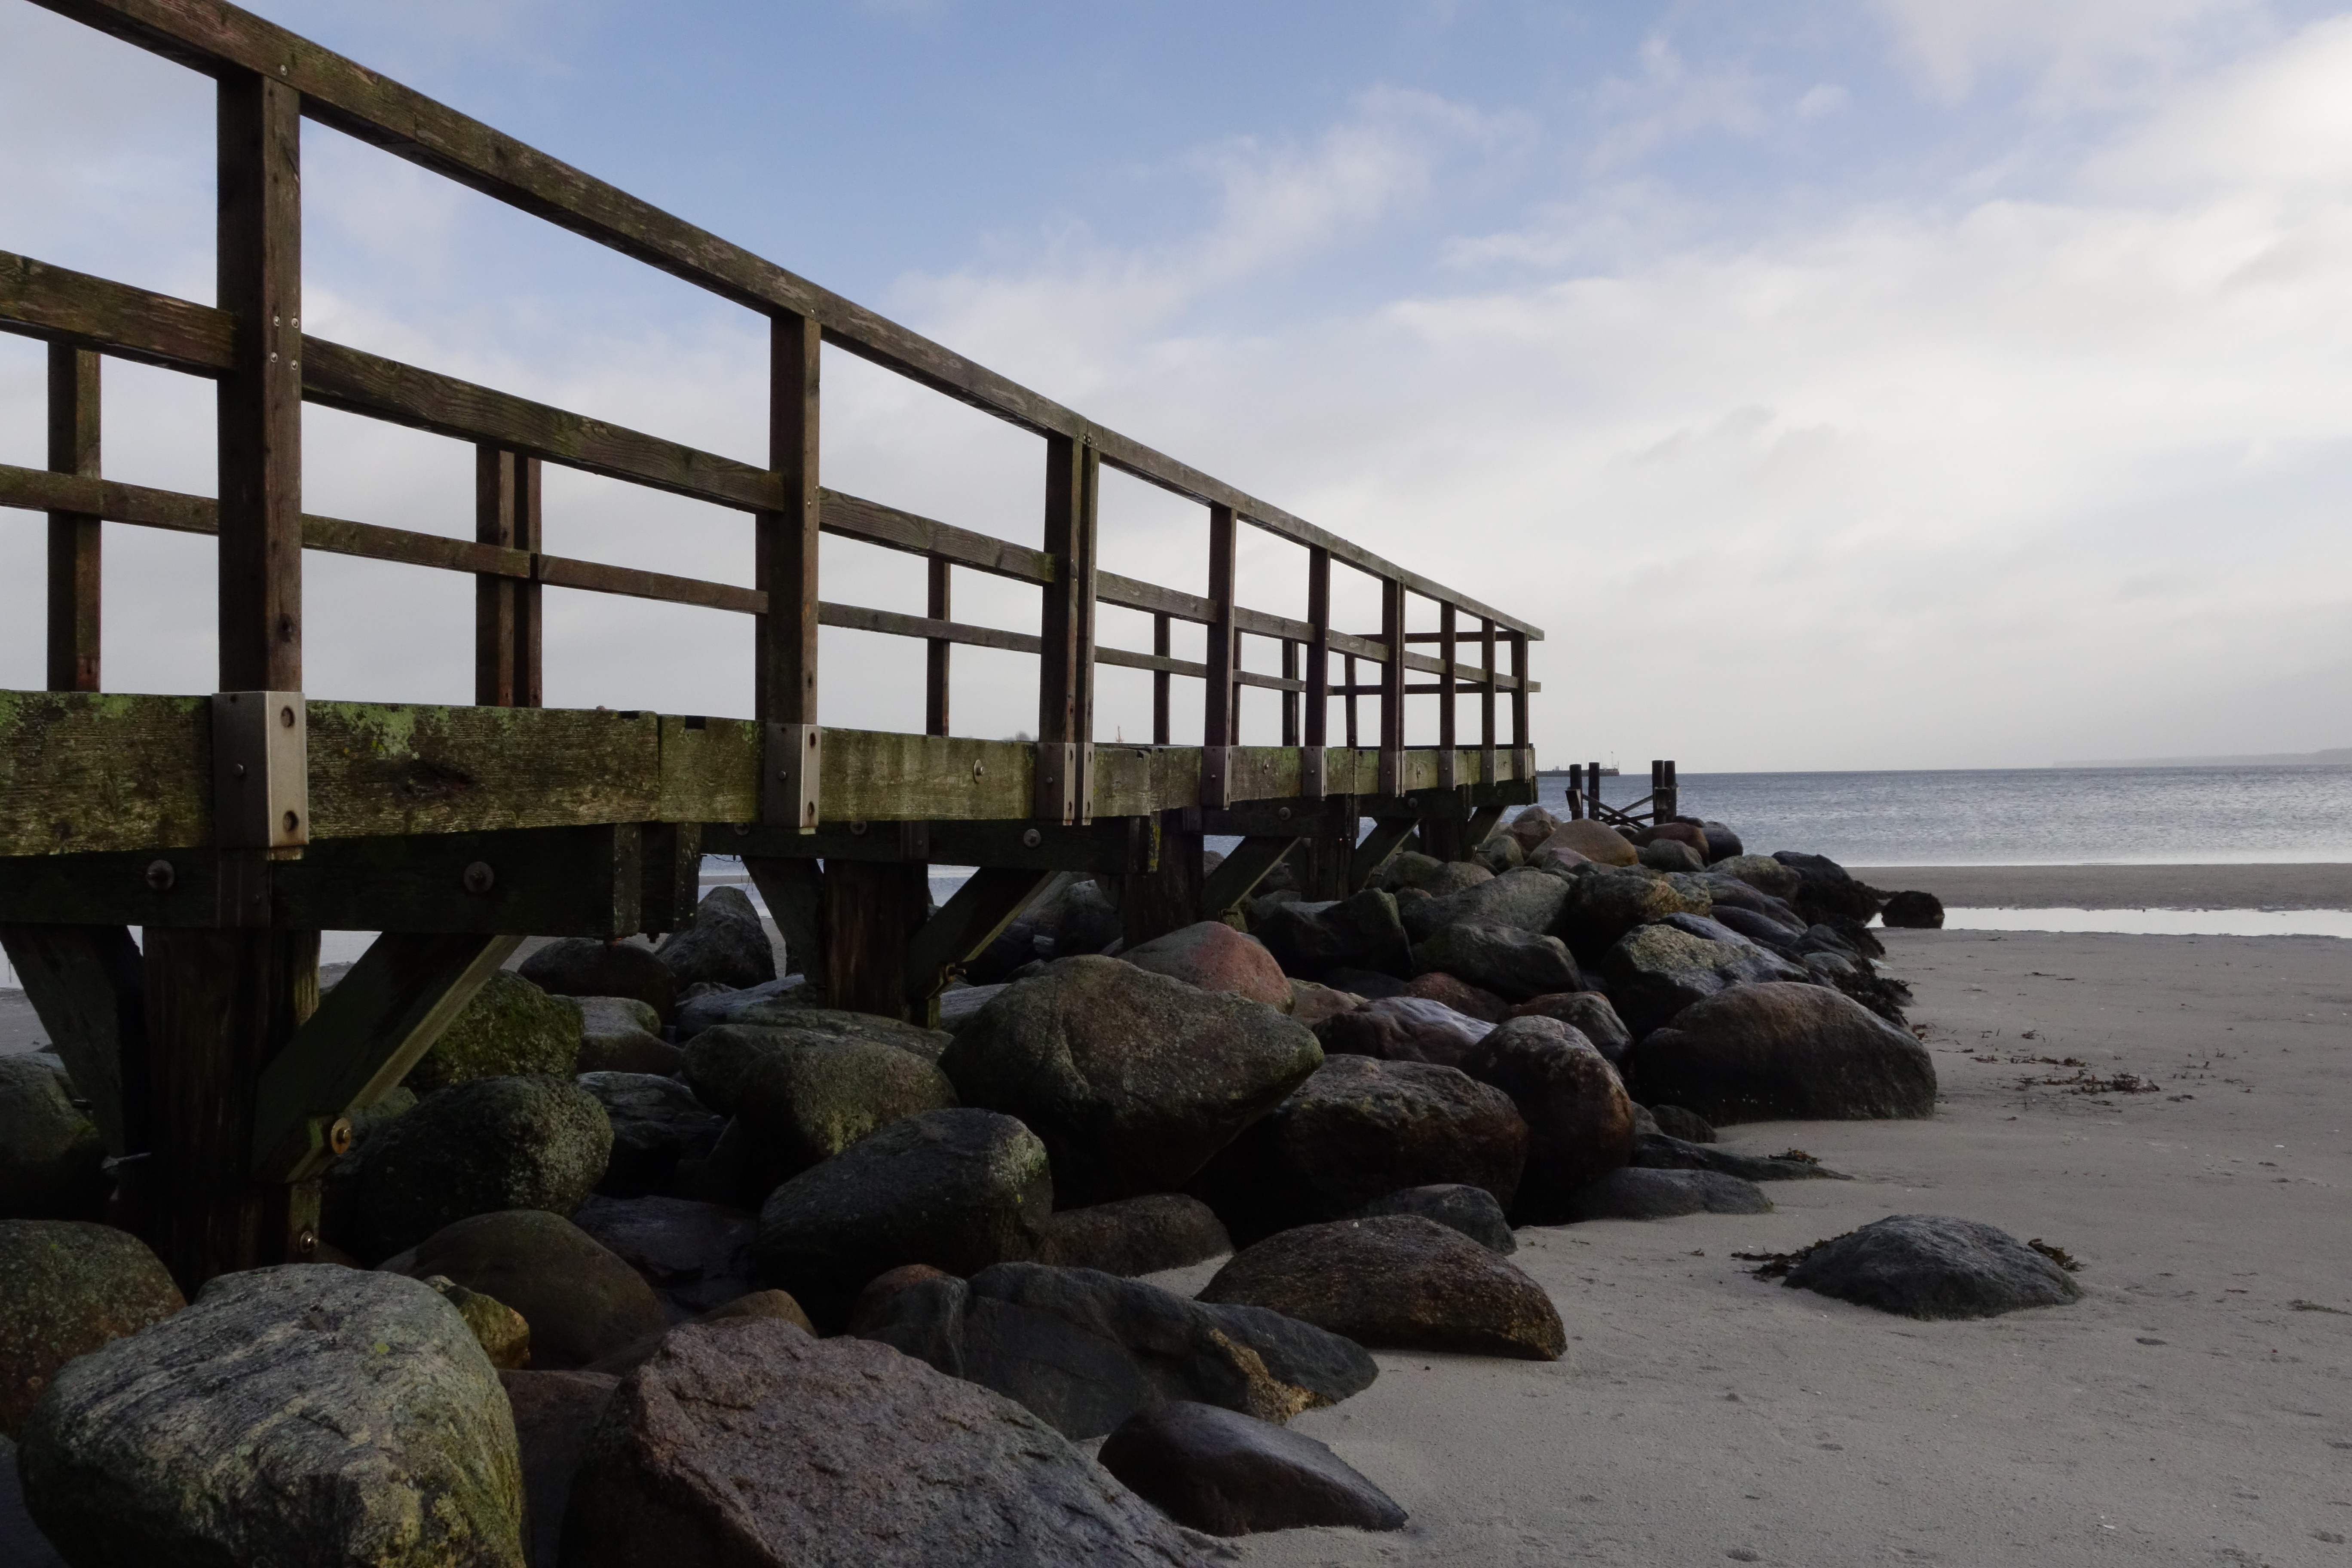
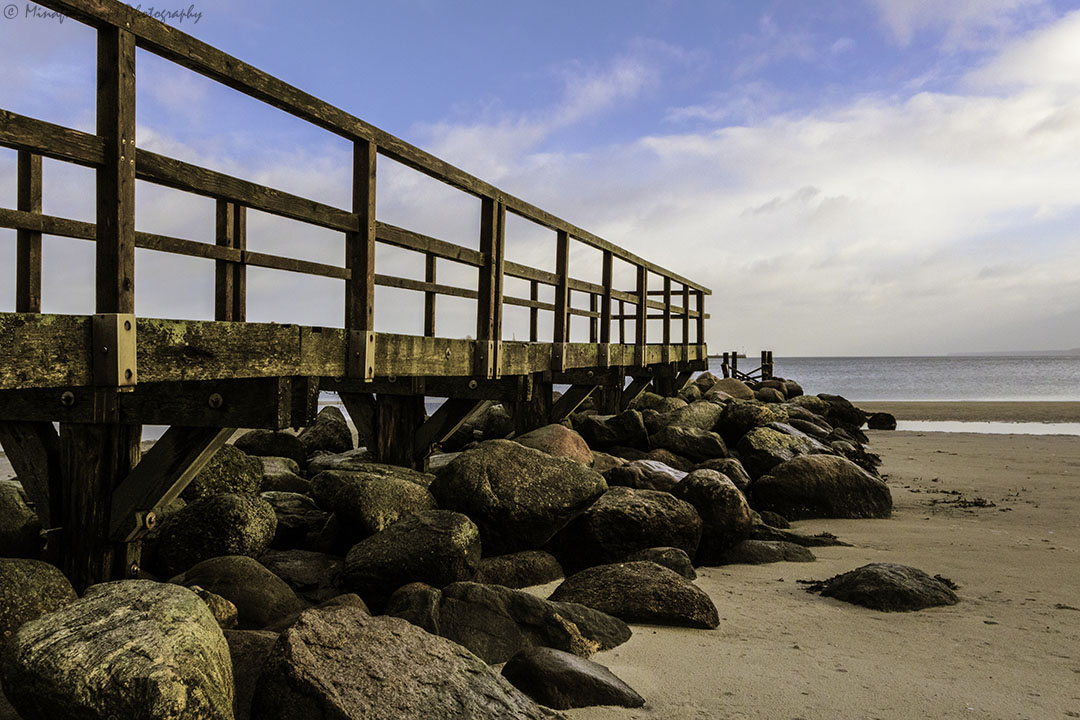
I have added a few more examples below where I attempted to improve images (i.e. “extend the dynamic range”) using Luminosity Masks. In these examples I mainly used the masks for Curves adjustment layers and very selectively for Hue/Saturation, Gradient Map or Vibrance adjustment layers.

Move the slider to compare the original (left) and the edited image (right)

I am still rather hesitant to use Luminosity Masks to blend different exposures into one “HDR image”. I do know that Photoshop CC (and CS6) has an Auto-Align function, which I would really need as a lot of my exposure brackets are done handheld (note: also using a tripod outdoors in windy conditions can very well lead to a not 100% aligned series of images), but I still need to try that out. For the time being I am quite happy with the knowledge that Photomatix will do a great job at aligning exposures.
Having gathered some experience using Luminosity Masks, I see myself using these within my HDR workflow as an addition to (not as a replacement of) Photomatix that will allow me to perform more selective local adjustments, enhance colours or perform enhanced dodge & burn for black and white images.
